Kids In Service Suggestions
Over the past few years, one of the most requested topics on my speaking circuit has been a lesson in which I list a hundred ideas for training our kids to be servants. Service oriented kids grow up to be productive adult servants in the kingdom and it’s those people to whom the Lord will say, “Come ye blessed of my Father,” according to Matthew 25. So it matters if I’m making a real effort, as a mom, to put the heart of a servant in my child. For this reason, I’ve decided to devote a post, every now and then, to a service suggestion—a simple idea for moms to make their homes busy service centers for young hearts and hands. I’d love to hear from those of you who try them. So here goes:
Apron Sewing
Sewing is a homemaking skill that is seeing a revival in many parts of our land. This makes me very happy because sewing prominently factors into the scriptures. Dorcas, for example, was praised upon her first death (sounds funny, huh?) for the garments she had made for the widows in the early Jerusalem church in Acts nine. The Proverbs 31 woman of virtue was also a seamstress. Lydia (Acts 8) was in the clothing industry. I also love the fact that young moms are sewing today because there’s just such an amazing nothing-else-like-it feeling that comes with creating something and then seeing it fill such a basic need in your life or someone else’s. It’s as if the seamstress gets to be a little link in the God’s chain of provision for those who are seeking first the kingdom (Matthew 6: 24-33). Sewing is something that our God sees, considers and uses. I love getting to be a part of His economy.
Making an apron holds a double blessing because it encourages our daughters in two homemaking skills that are very much a part of God’s plan: sewing and cooking. For this apron-making exercise, I would encourage using the story of Dorcas during your family Bible time. Then I would choose a widow from your congregation who enjoys cooking and let your daughters make the apron and present it to the older sister at services or at a meal that you’ve prepared for her in your home. This is also a great project for several girls to do together and make the aprons as a take-home gift for a widow’s luncheon.
Now, I know there are many readers who need no sewing instructions for an apron. For those who do, I’m including the very simplest way I know to make an apron. Here goes:
- Purchase a bandana. These can often be found for fifty cents at Hobby Lobby in all sorts of beautiful colors and patterns.
- Purchase a yard-and-a-half of grosgrain ribbon to coordinate with your fabric.
- If you want a pocket, cut one off an old shirt or an old pair of jeans.
On the right side of the top of your bandana, find the center and pinch up about a half inch of the fabric right in the middle. Fold it over to the right and pin it so you have made a little pleat. Do this again about two inches to the right of your first pleat and about two inches to the left of your first pleat. Now you have three little pinned pleats across the top of your bandana.
")
")
Now center your ribbon as shown on the top of your bandana. Line up the edge of your ribbon with the edge of your bandana, as shown and pin. Sew bandana and ribbon together across the top edge and then across the bottom edge of the ribbon. If you are sewing with a sewing machine, you should backstitch (sew backwards for about a half inch when you reach the end of your stitching) so it will not come unsewn. If you are sewing by hand, make tiny little stitches and tie a knot when you are finished with your stitching. At this point, you have an apron.
")
If you want to sew a pocket on, pin it wherever you want it and go for it.
It’s a good idea to use a zig zag stitch across the end of your ribbon sash or use a fray-check product (like Dritz), available at your sewing store to make sure your ribbon doesn’t fray. You can also fold the ends of the ribbon under a couple of times and sew across the ends.
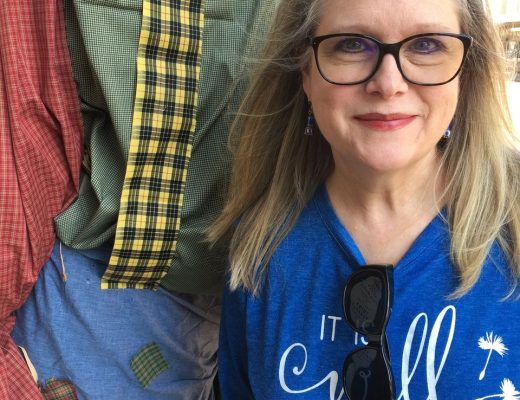
Okay here’s what your shabby-chic apron should look like when you are finished. I took the pocket from one of my son’s old shirts. (Just clip it off and sew it on your bandana. You can do this before assembling the apron if you want.)
")
This brings back fond memories of my mom who taught me to sew aprons before I could read. I still have some that I embroidered for my grandmother with her name and mine when I was about three years old. Here are a couple of those early samples from my childhood.
")
")
Hope this service idea is as much fun for you!